Get started in 5 minutes
Analog data in 90 seconds
Connect the QT Py to your workstation with USB
- Back up the
code.pyfile on the QT Py -
Preview the package in a deletable Python virtual environment
PowerShell# Create and enter a new Python virtual environment mkdir qtpy-preview cd qtpy-preview python -m venv --upgrade-deps .venv .\.venv\Scripts\activate.ps1 # Install pip install qtpy-datalogger # Show the package help qtpy-datalogger --help # Search for devices qtpy-datalogger connect --discover-only # Install the sensor node runtime on the QT Py qtpy-datalogger equip # Open a serial connection, use Ctrl-] to quit qtpy-datalogger connect qtpycmd get_apps qtpycmd stats qtpycmd read A0 A1 A2 A3 # Ctrl-] to quit -
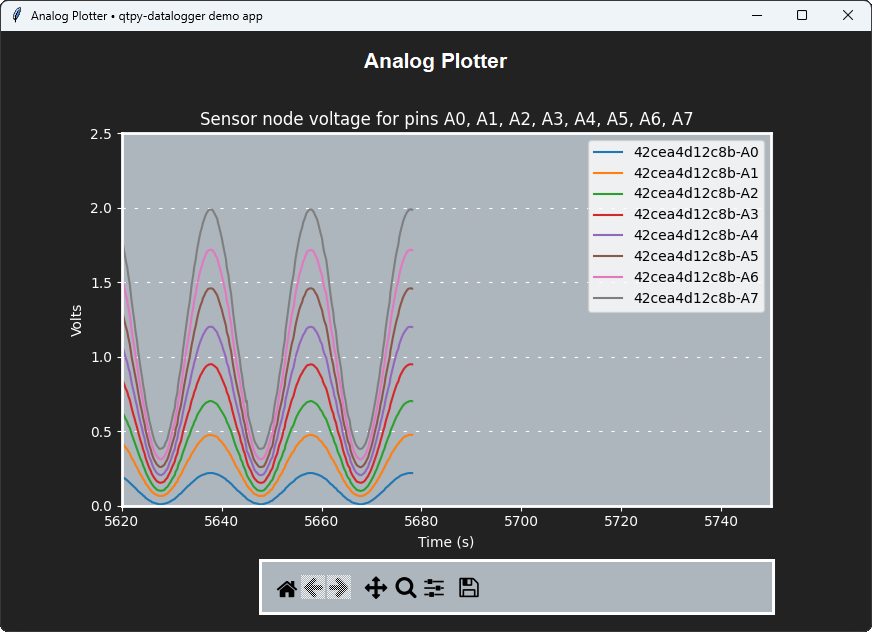
Plot data in the Analog Plotter demo GUI app
- Optionally, delete the folder
qtpy-previewwhen you are done
WiFi control in 3 minutes
This preview does not demonstrate communication over WiFi
In order to communicate on the WiFi network, the QT Py sensor node must also have
- an MQTT broker
- WiFi credentials
Continue to the MQTT page if you want to try the demo apps over the network.